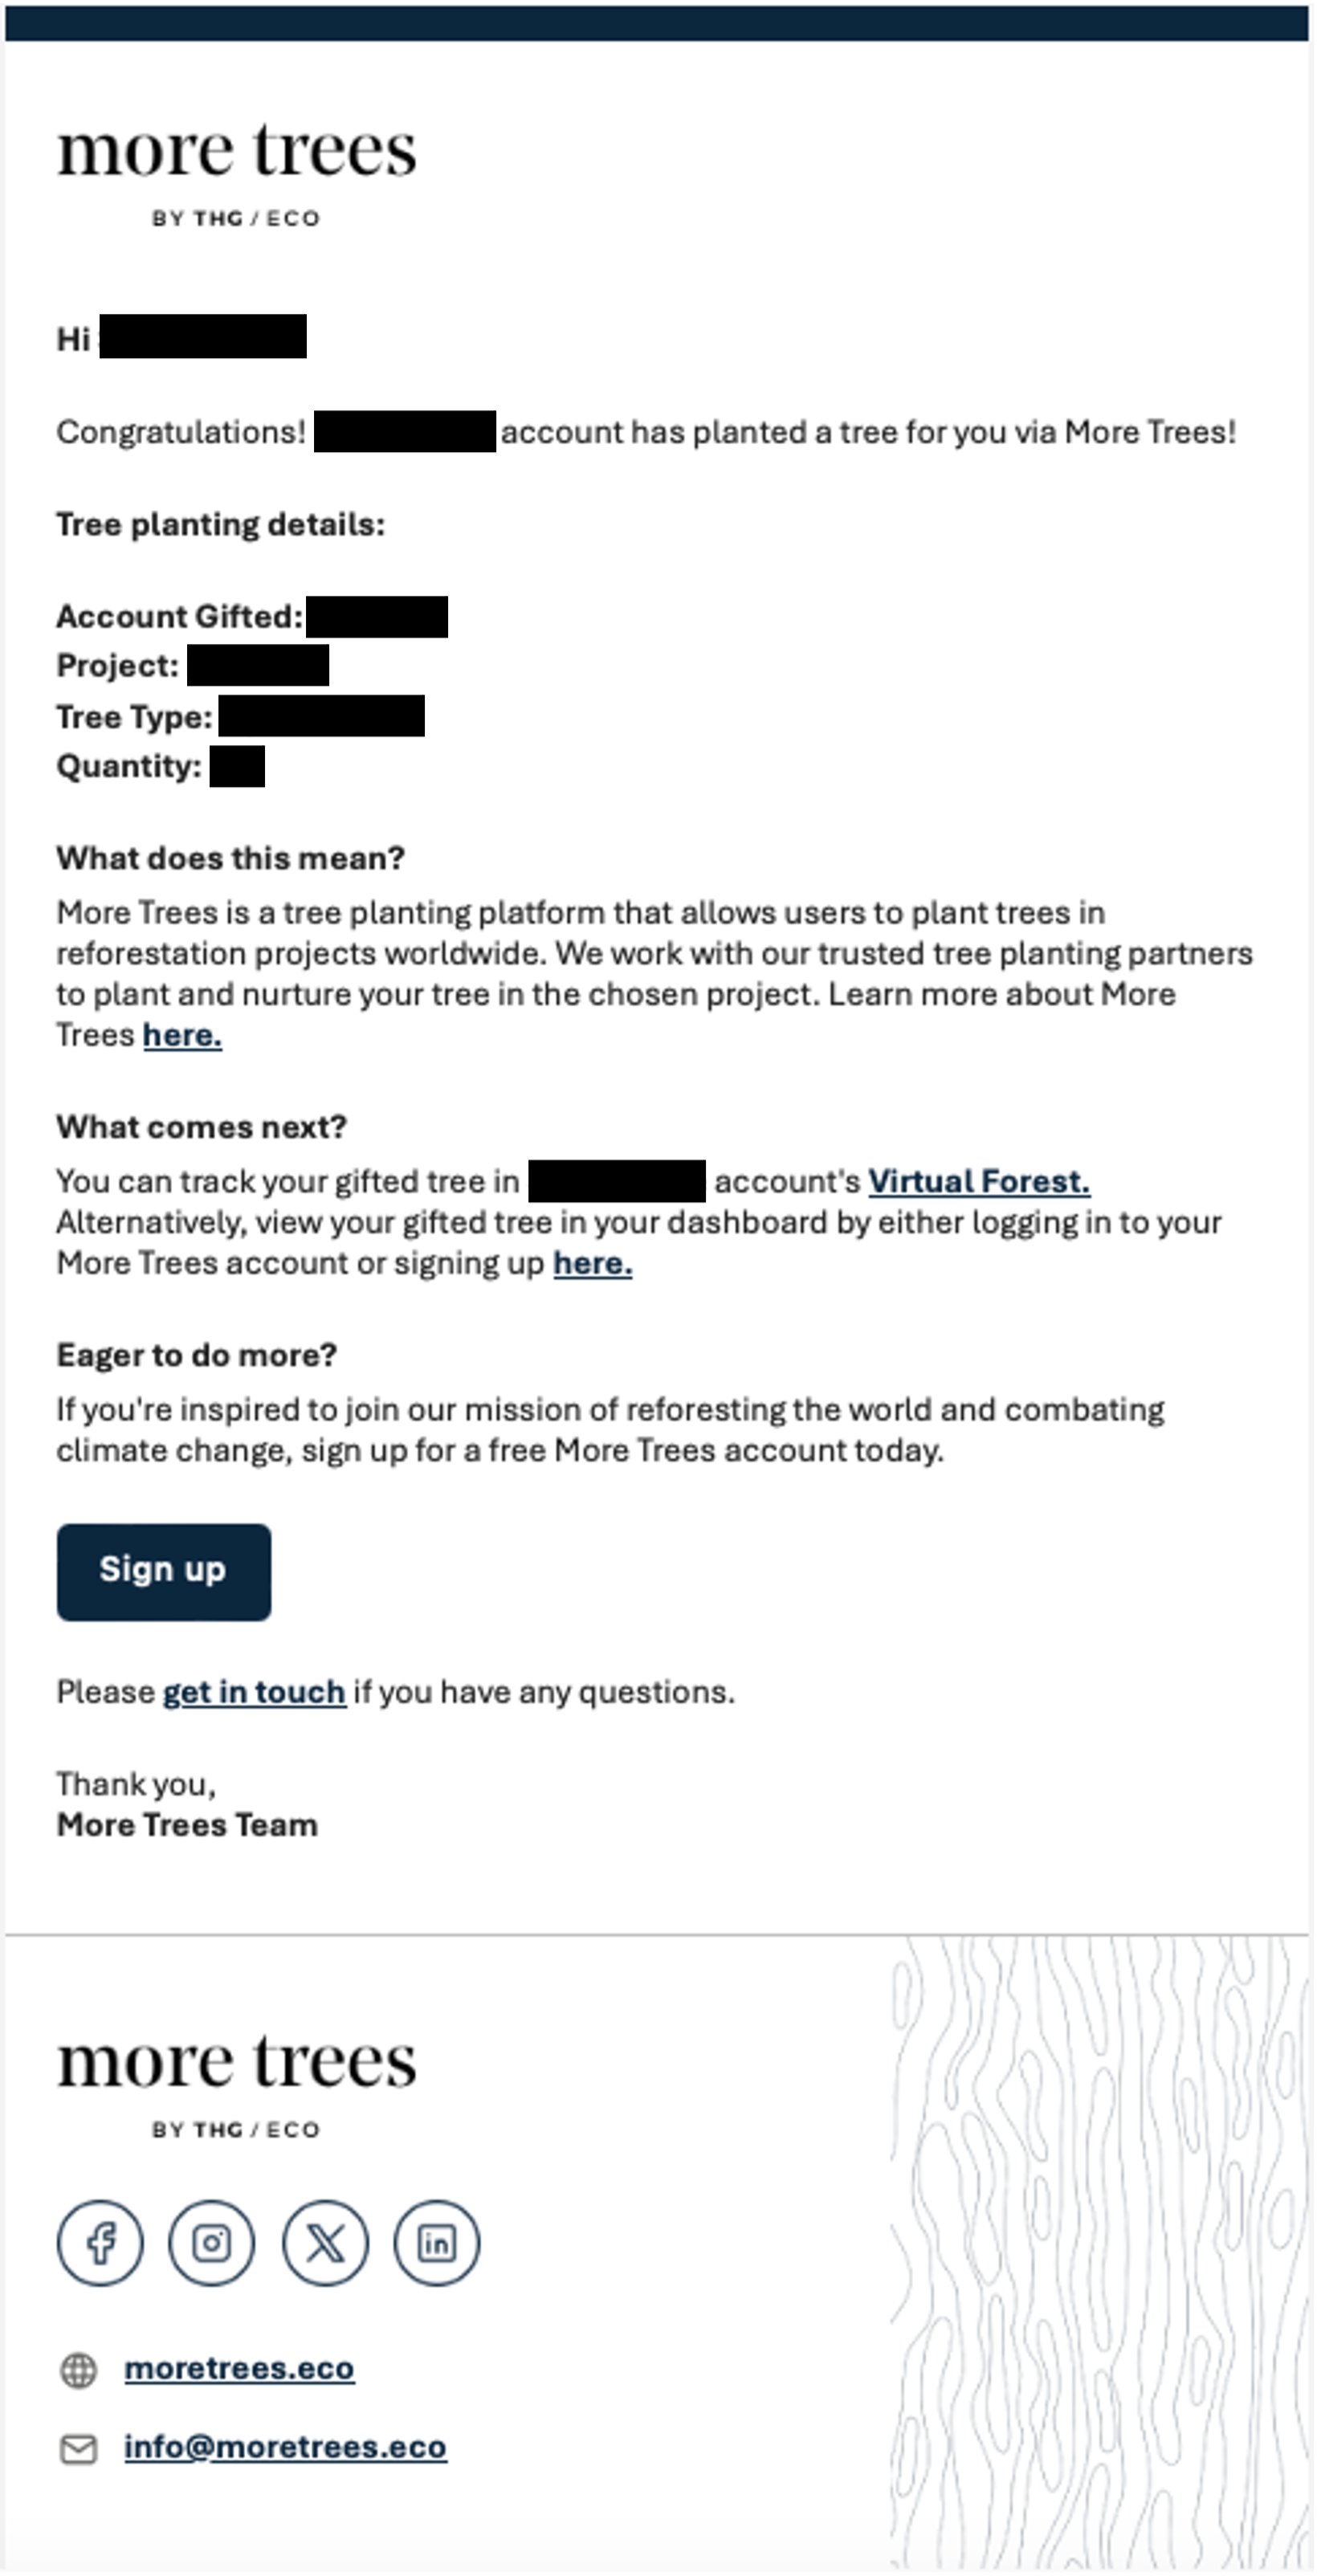
Knowledge base

Email templates

Overview

With (more:trees), you can choose to send a confirmation email to anyone you’re planting a tree on behalf of. 
 
This look of this email can be based on:
  • Our standard template
  • Your customised template
  • A customised version of our standard template

Sender details

When sending one of our standard templates (or using specific data tags in a custom design), you can edit the following information:

  • Subject line – as it appears in the inbox
  • Sender name – of the person or business planting the tree
  • Custom message – a short message from you

To do so, use the main menu to navigate to: Trees > Email templates > Sender details

Standard templates

To view and send one of our standard templates when planting for someone else:

  1. Use the main menu to navigate to Trees > Email templates > Select template
  2. Click a template to maximise the view
  3. Click Set as default to choose the template – this will now be the one automatically sent to recipients

Note: the information in square brackets will be automatically populated and customised upon planting.

Custom templates

To view and send one of our standard templates when planting for someone else:

  1. Use the main menu to navigate to Trees > Email templates > Create template
  2. Name your custom templates
  3. Use the drag-and-drop designer to create your custom email, including:
    1. Editing the colour and fonts
    2. Adding images, text and buttons
    3. Viewing in desktop and mobile format
    4. Adding data tags to automatically customise your email to each recipient
  4. Click Save to save your progress
  5. Once finished, use the main menu to navigate to Trees > Email templates > Select template
  6. Find your custom template and click Set as default to default the template – this will now be the one automatically sent to recipients

Customising the standard templates

To edit one of our standard templates:

  1. Use the main menu to navigate to Trees > Email templates > Select template
  2. Click Copy to open the template in the template designer
  3. Name your new template
  4. Use the custom template designer, as above, to customise our standard template
  5. Click Save to save your progress
  6. Once finished, use the main menu to navigate to Trees > Email templates > Select template
  7. Find your custom template and click Set as default to default the template – this will now be the one automatically sent to recipients

Turning the outgoing email off

To stop email confirmation being sent to tree recipients:

  1. Use the main menu to navigate to Settings > User settings
  2. Switch Send planting confirmation email to recipient/giftee off
  3. Click Save changes


Still need help?

Please email [email protected] and we’ll be happy to assist.